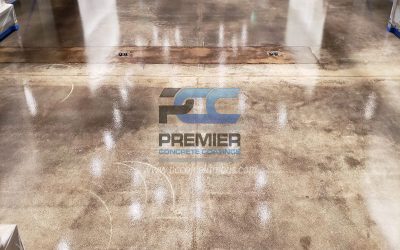
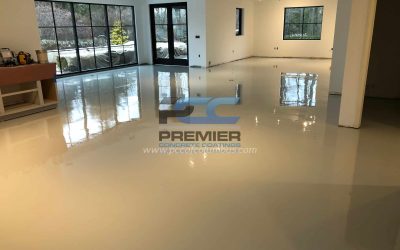
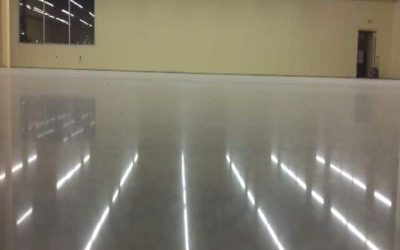
We had the great opportunity to transform a gross old floor with our decorative cement for a Circleville Hair Salon. The floor originally had a couple coats of paint, concrete cracking / chipping, and a huge hole at the front door. Although most of these challenges are pretty normal for us; the big hole was more unique, but nonetheless we overcame this obstacle.
What is great about this coating is that it is able to hide all of these issues and provide our client with a unique flooring finish unlike traditional salons. This floor has really became a conversation piece for the salon’s new clients.
Recently we had a previous client tell us that having videos and pictures illustrating the installation process was a huge part in understanding how we apply these floors. With that response, I am trying to gear all of our content towards short videos that step through the process. It saves me on writing some content, but also provides information on another platform that is easy to share and view.
Installation Process
- Diamond Grind – Provides coating with an appropriate surface profile and removes existing coating
- Repair any and all cracks, holes, joints – Allows for a seamless surface
- Primer / Basecoat – Gives the coating a deep, more rich base color and allows for coating to adhere to concrete properly.
- Metallic Marble Epoxy – Decorative coating designed to be a conversation piece.
- Polyurethane sealer – We use a water-based polyurethane to help protect the metallic marble layer.
Our installation process takes about 4 – 5 days to complete and 1 – 2 days of dry time to ensure that the epoxy is sound for traffic.
Decorative cement is perfect for any floor, whether commercial or residential. This floor comes in about 24 different color options and additional colors can be added. This particular floor has only 1 color mixed in to provide a simple, but unique look for the design of this salon.
If you’re interested in more pictures, then mosey on over to our Metallic Marble page by clicking this link.


