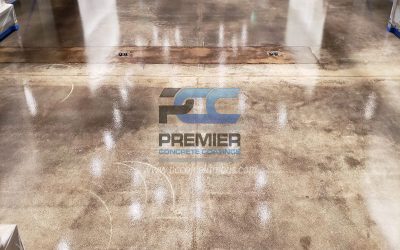
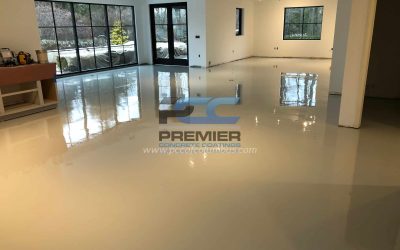
Check out these amazing before and after photos of painting basement floor transformation that we gladly had the opportunity to complete in Worthington, Ohio. Projects like these take several hours going over the floor to make sure everything is filled, cleaned, repaired, and ready-to-go for a coating to properly adhere and look great. It is like a giant puzzle that you keep staring at trying to find which piece to fit in. When you think you have all the holes filled, you missed one – so it takes several passes to actually guarantee that everything is filled (or at least 98% of it is). painting basement floor
Check it all out in this blog post below!!
From these pictures above, you can see that the floor had been painted several times. That one time or another there had been carpet and laminate. You can see that walls were built and torn down. Overall, these pictures show that this basement floor has seen a lot over the decades in this home. Before we could install our metallic marble epoxy coating, we first needed to remove all existing paint and glue and get down to bare concrete.
[h2a]Surface Preparation – Diamond Grinding Concrete[/h2a]
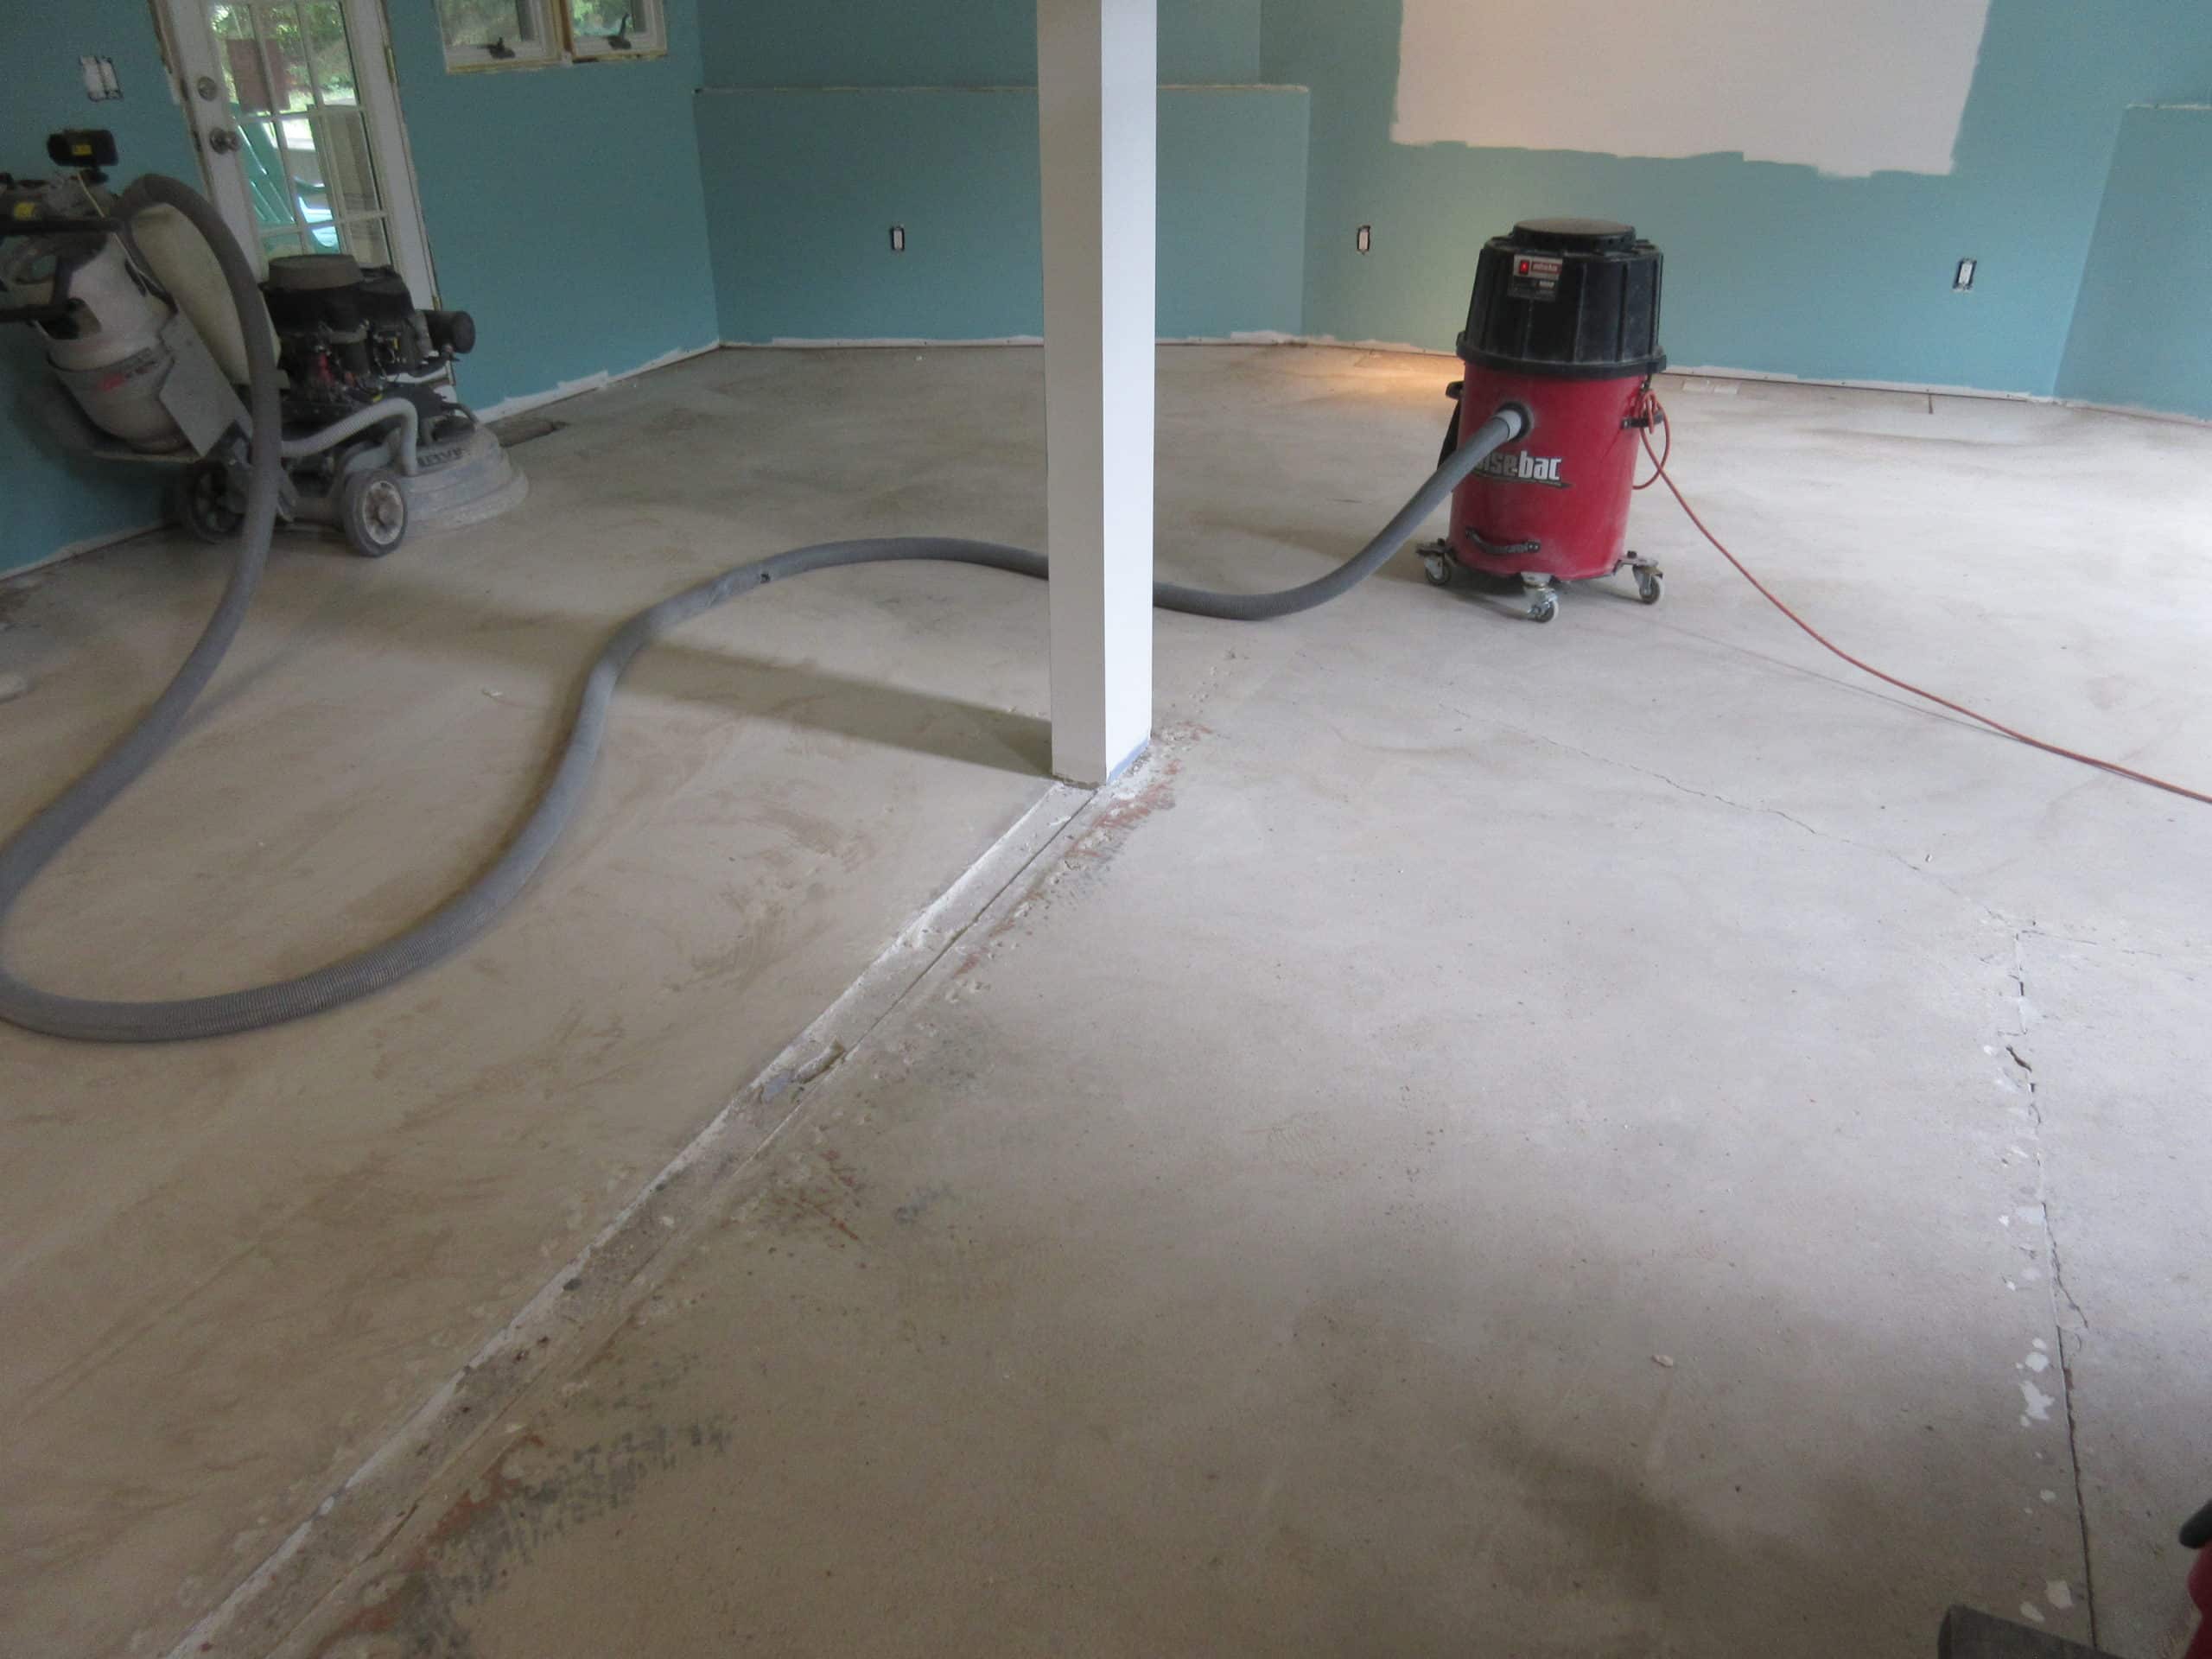
Concrete Grinding
In this particular case, removal of these existing floor options allows our coatings to adhere properly to the surface of concrete. Diamond grinding creates tiny little scratches across the surface that are like grooves – these grooves allows the coating to sink in and really grab the concrete. Additionally, grinding helps uncover any other problems such as cracks, holes, pitting, and more. Heavy grinders, such as our 700 pound monster seen in the picture to the right, allows us to even level out the concrete because concrete is never absolutely level. Now when I say “level”, what I really mean is that the machine eats away at the high spots making it more even across the surface (once again concrete is never absolutely level).
[h2a]Repairing Cracks / Holes & Flexible Joint Fill[/h2a]
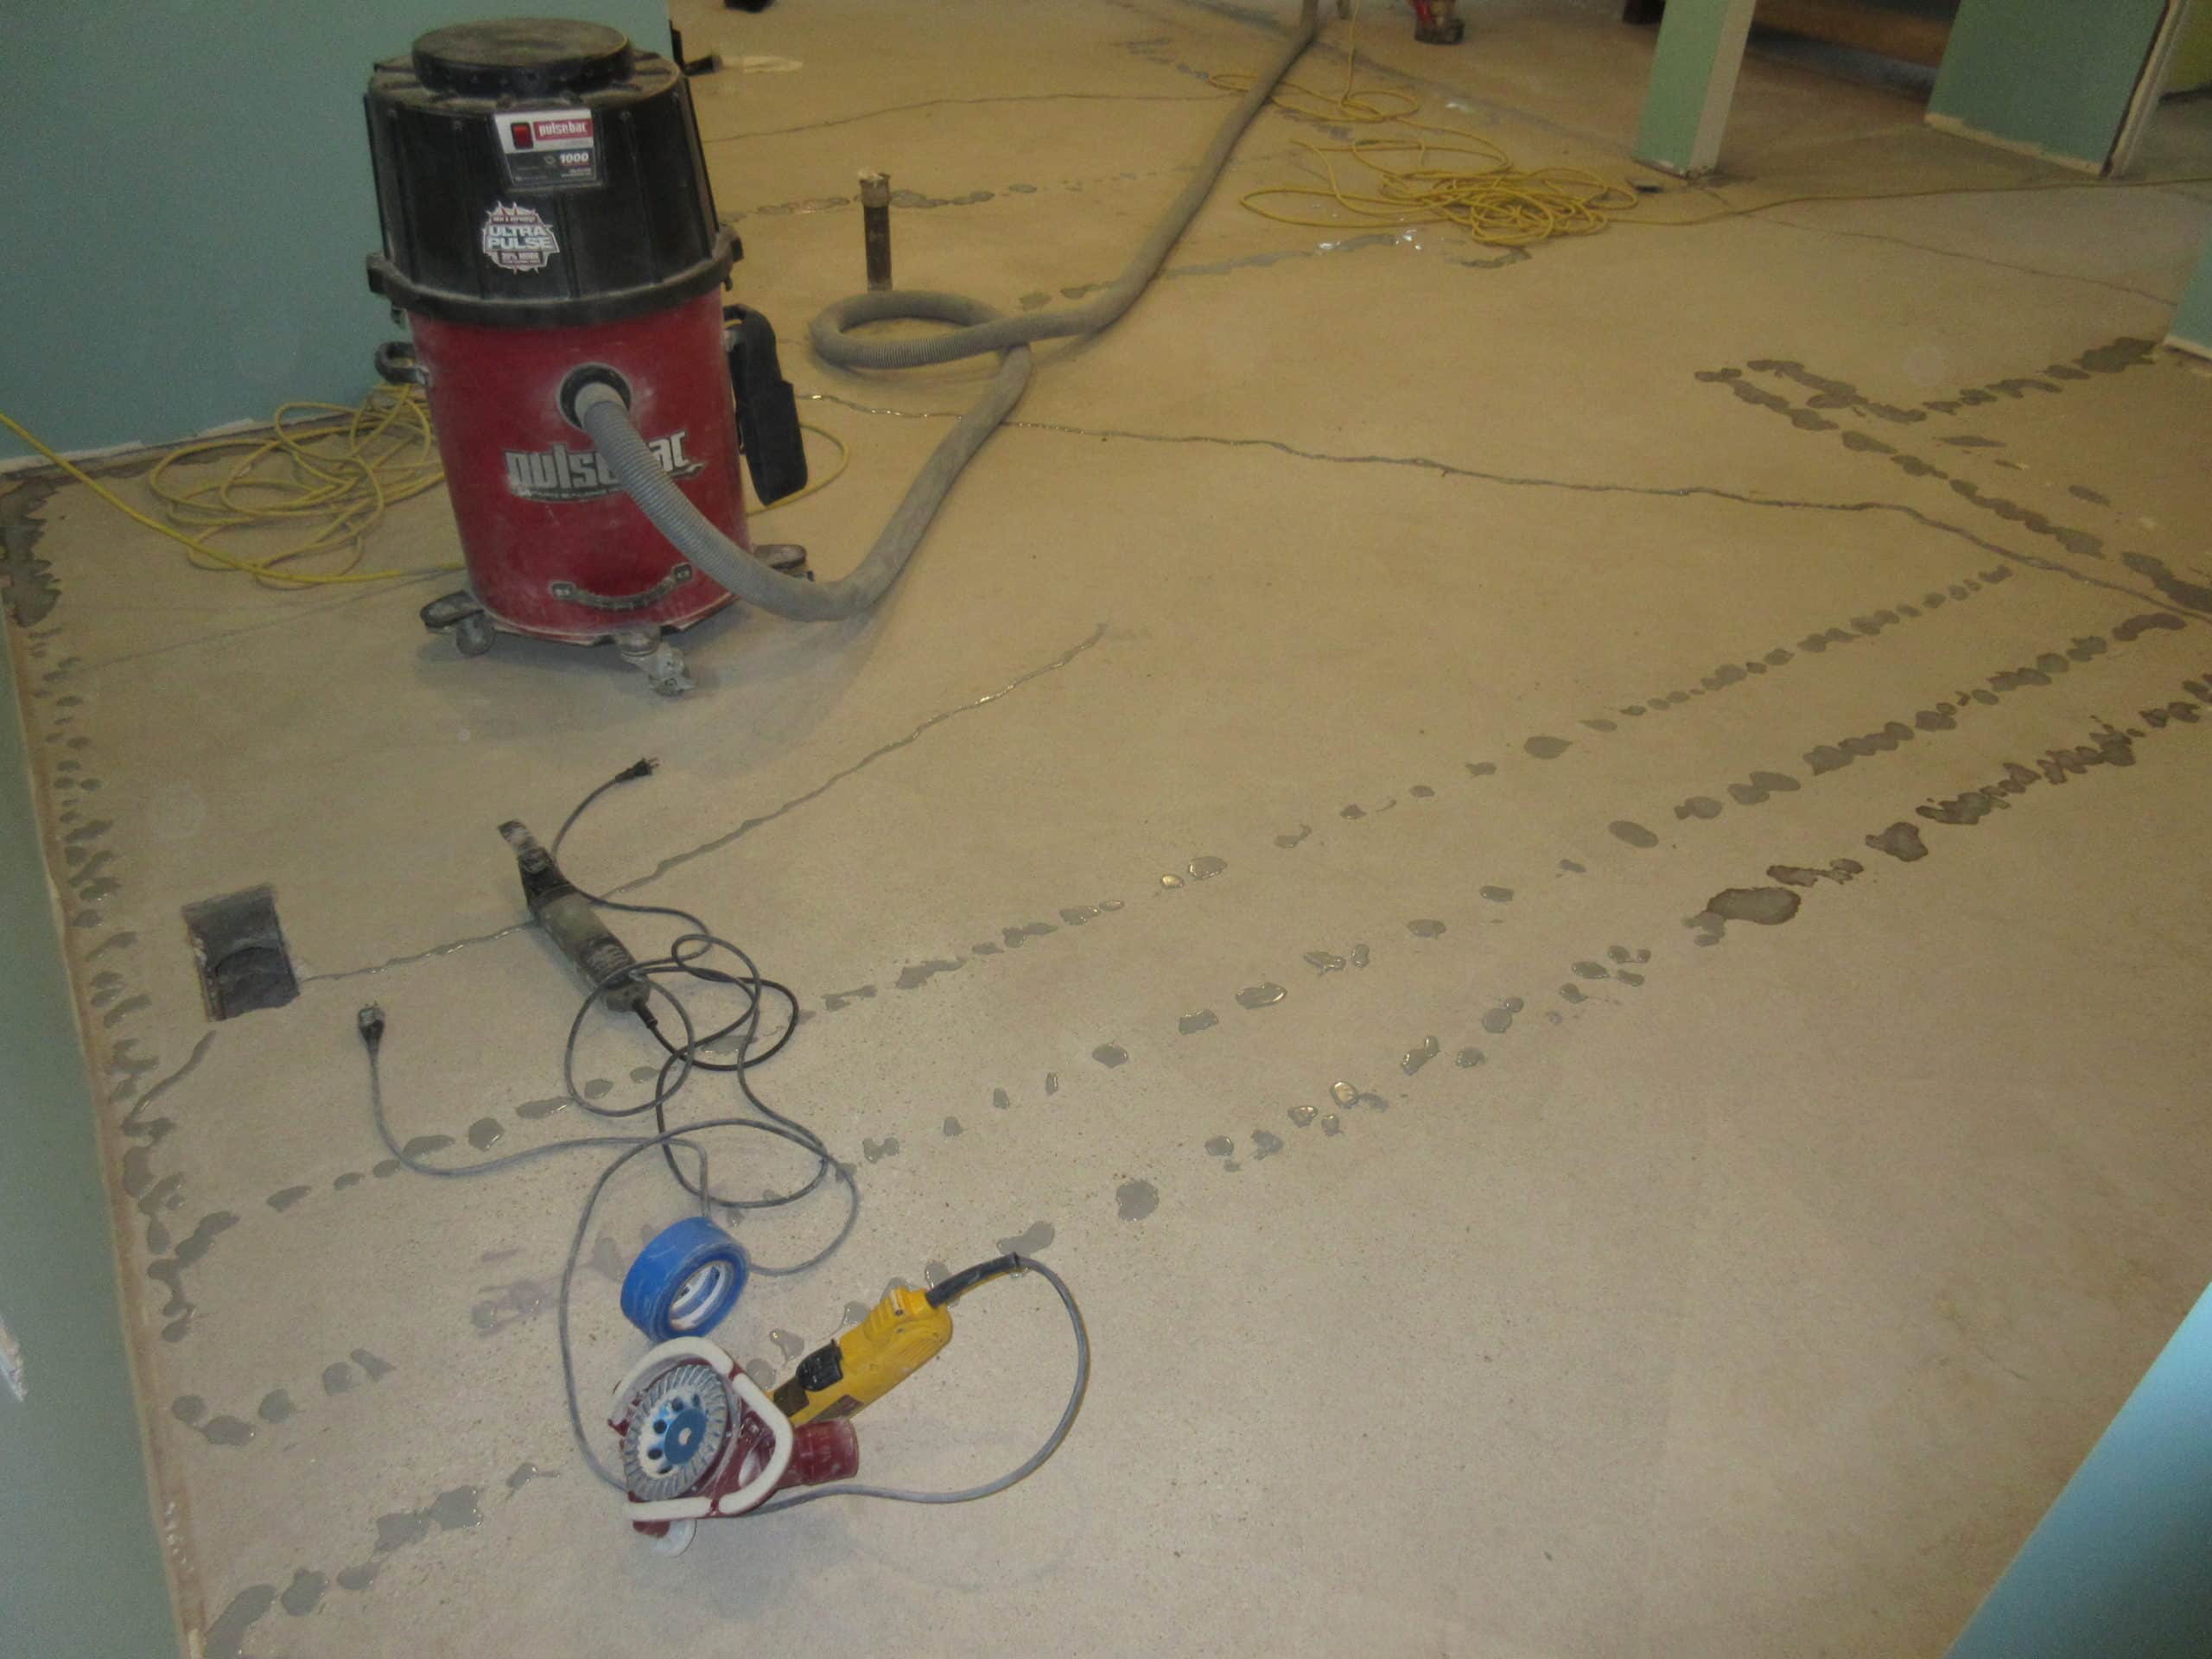
Ultimately, these repairs make the floor look seamless – in what we believe is the best result for our clients. Furthermore, it also helps the floor function better by being easier to clean, preventing moisture coming through a crack, and not trapping any debris. To accomplish this repairing these areas, we use a small variety of repair products that include: epoxy, fast-setting polyurea, concrete, and more. These products are generally over filled and then ground back down flush with the concrete surface. painting basement floor
This basement mostly had been outlined by tackstrip which required much repair. Additionally they had removed a couple of walls to open the area which left a long rectangle needing repair with concrete.
Once all these repairs have been installed and cleaned up, we then move on to a prime coat, base coat, and top coat. Each play a different role in providing clients with the ultimate epoxy floor. Our prime coat penetrates the concrete and provides a vapor barrier against moisture from allowing the concrete to breathe. When concrete breathes (usually to fluctuation in temperature) it “out-gases” which means that it is expunging air from its surface which can create bubbles in epoxy. Installing a prime coat helps prevent the concrete from possibly out-gassing.
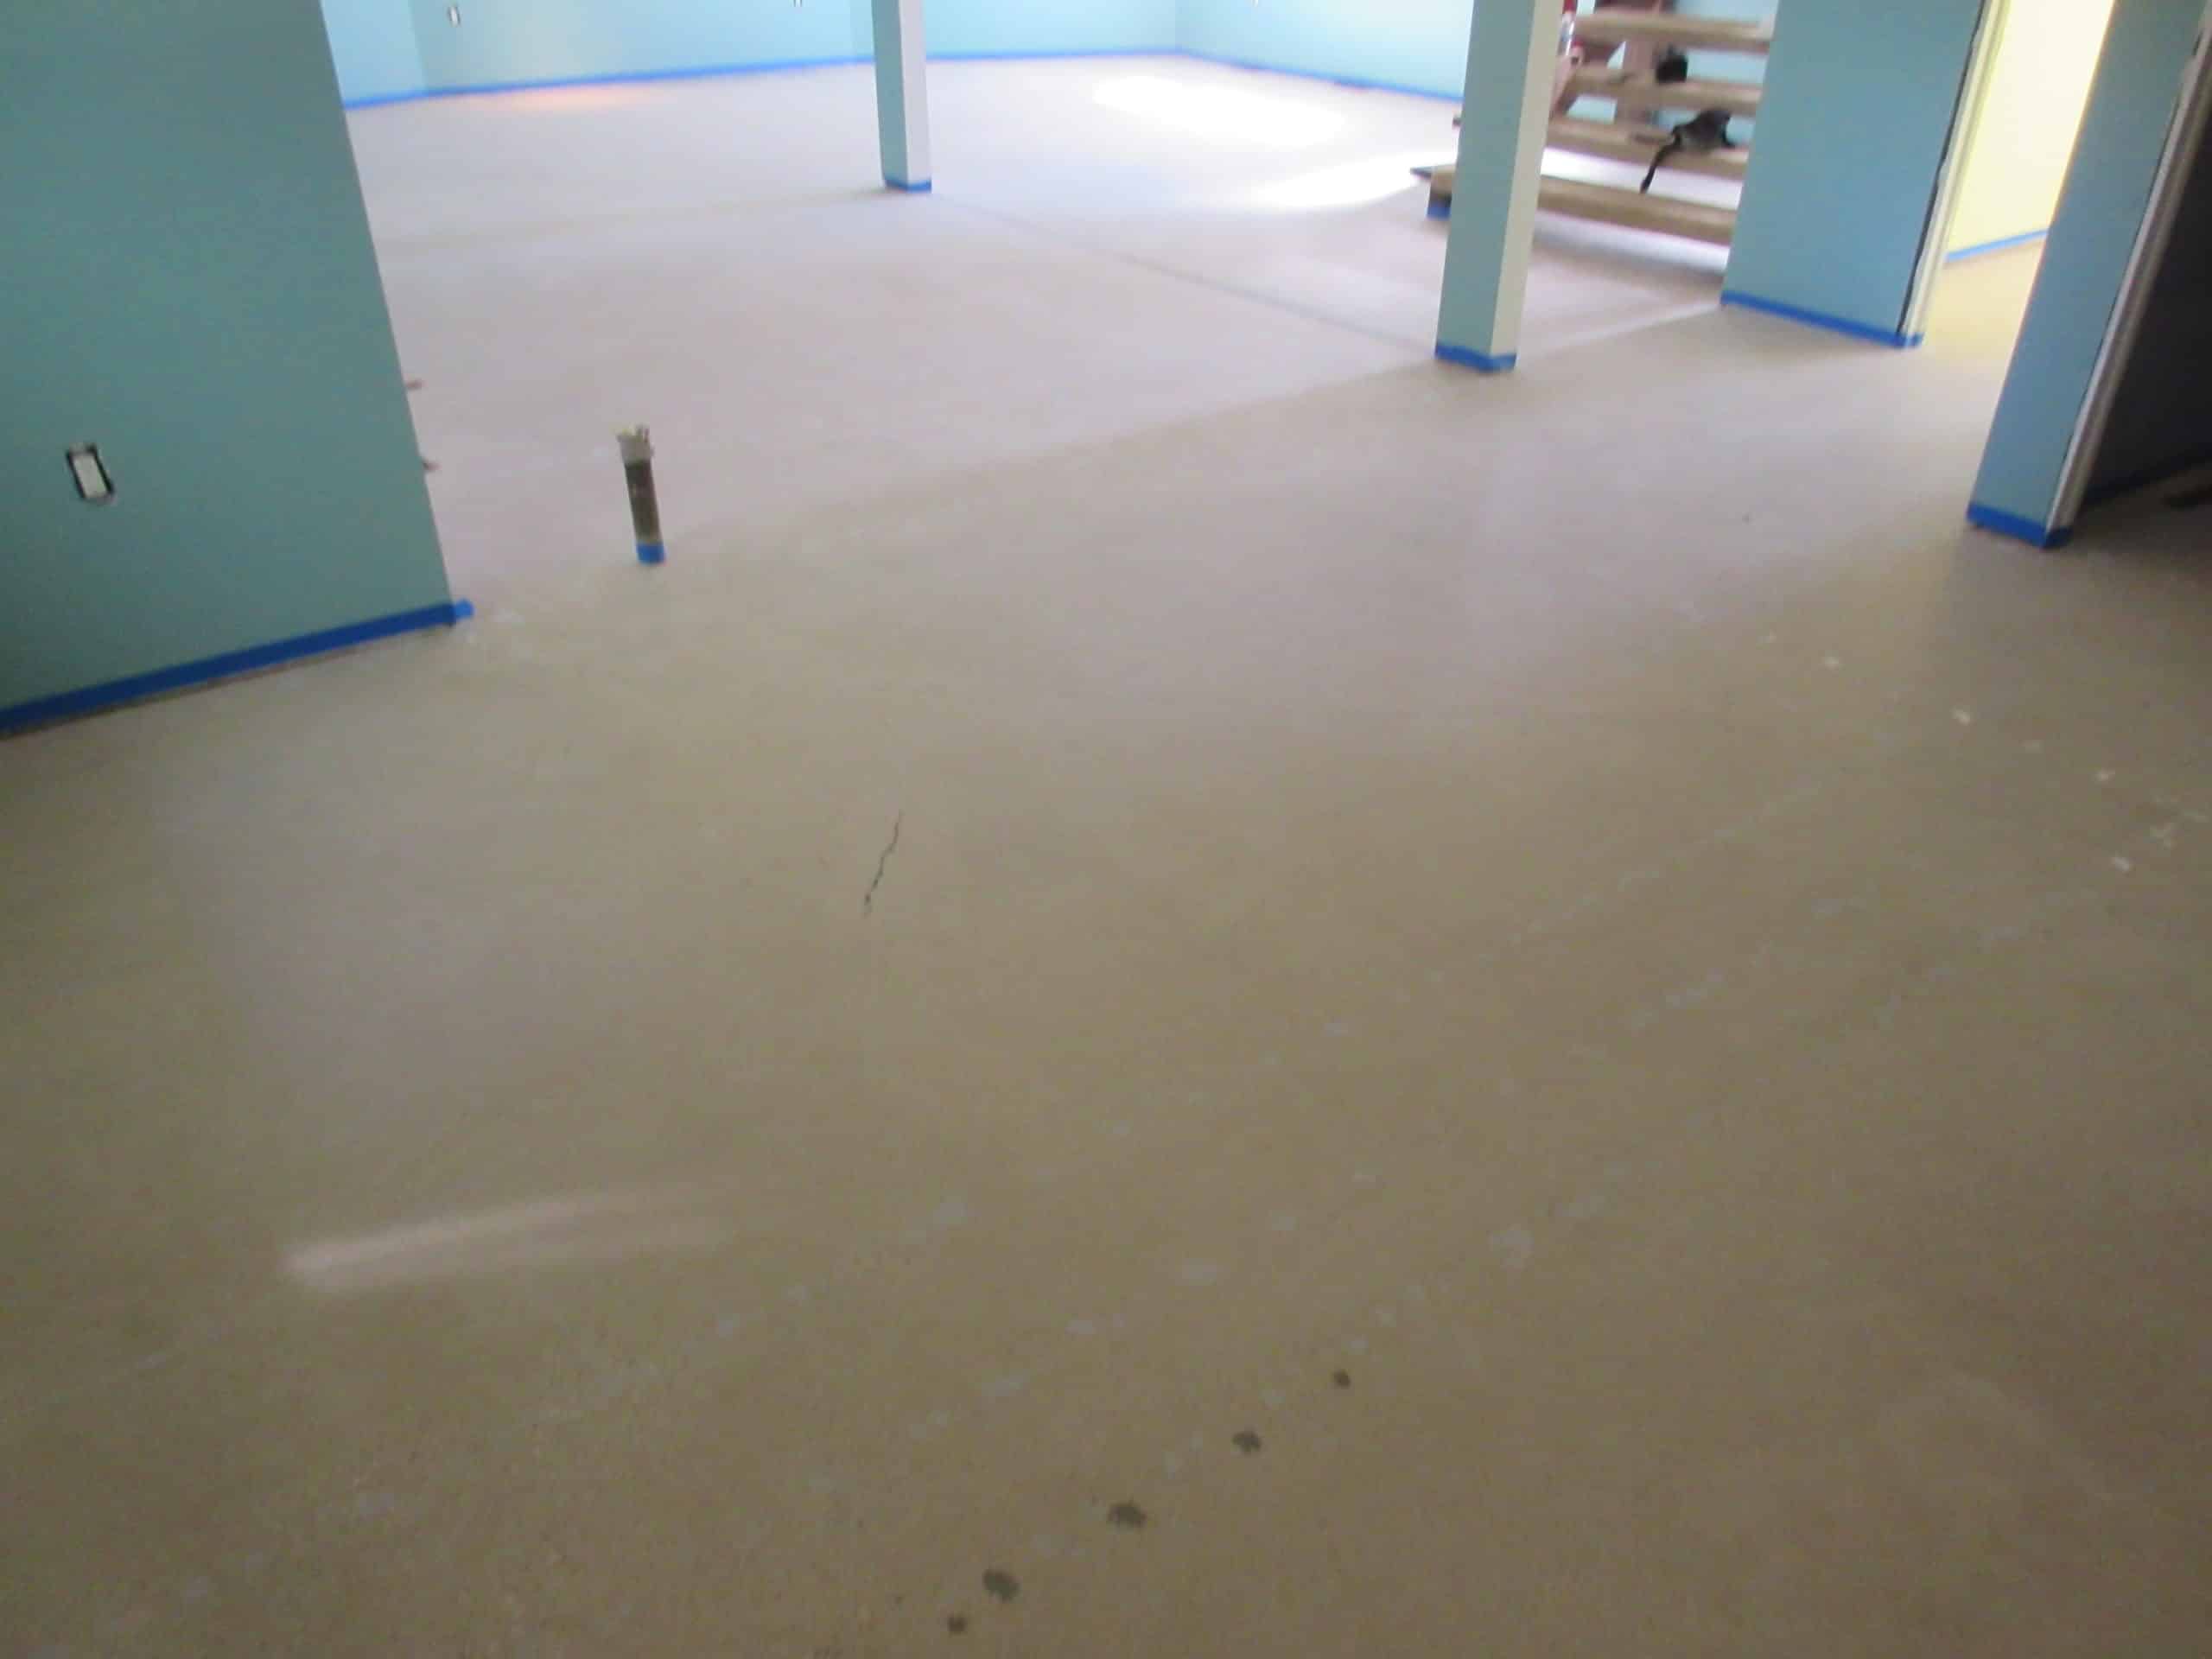
Clean, Smooth Floor
Typically the prime coat dries in about 1 – 2 hours which allows us to return to the job site and begin installing a base coat. The base coat is typically measured at a 3 – 5 mils thick and its primary function is to change the color of the concrete. This ensures that you are not able to see bare concrete through the coating. Additionally, it provides another durable layer and helps further more prevent out-gassing.
Upon returning the next day, we may or may not sand the entire floor depending on dust/debris/bubbles that appear in the base coat. If everything is a go then we will immediately begin the process of applying the metallic epoxy coating that gives this floor the amazing, unique design. We apply this coat at about 20 – 30 mils thick which allow the coating to really take effect. Most clients choose 1 or 2 colors for their floor, but we’ve had clients that have chosen 3 – 6 colors. Depending design, you pay what you get for!
If you’re interested in receiving a quote about having Premier install an epoxy basement floor at your home, please visit our contact page! Call/Text 614-918-7345 or e-mail us at pccofcolumbus@gmail.com for any questions that you may have about this process or our products!

